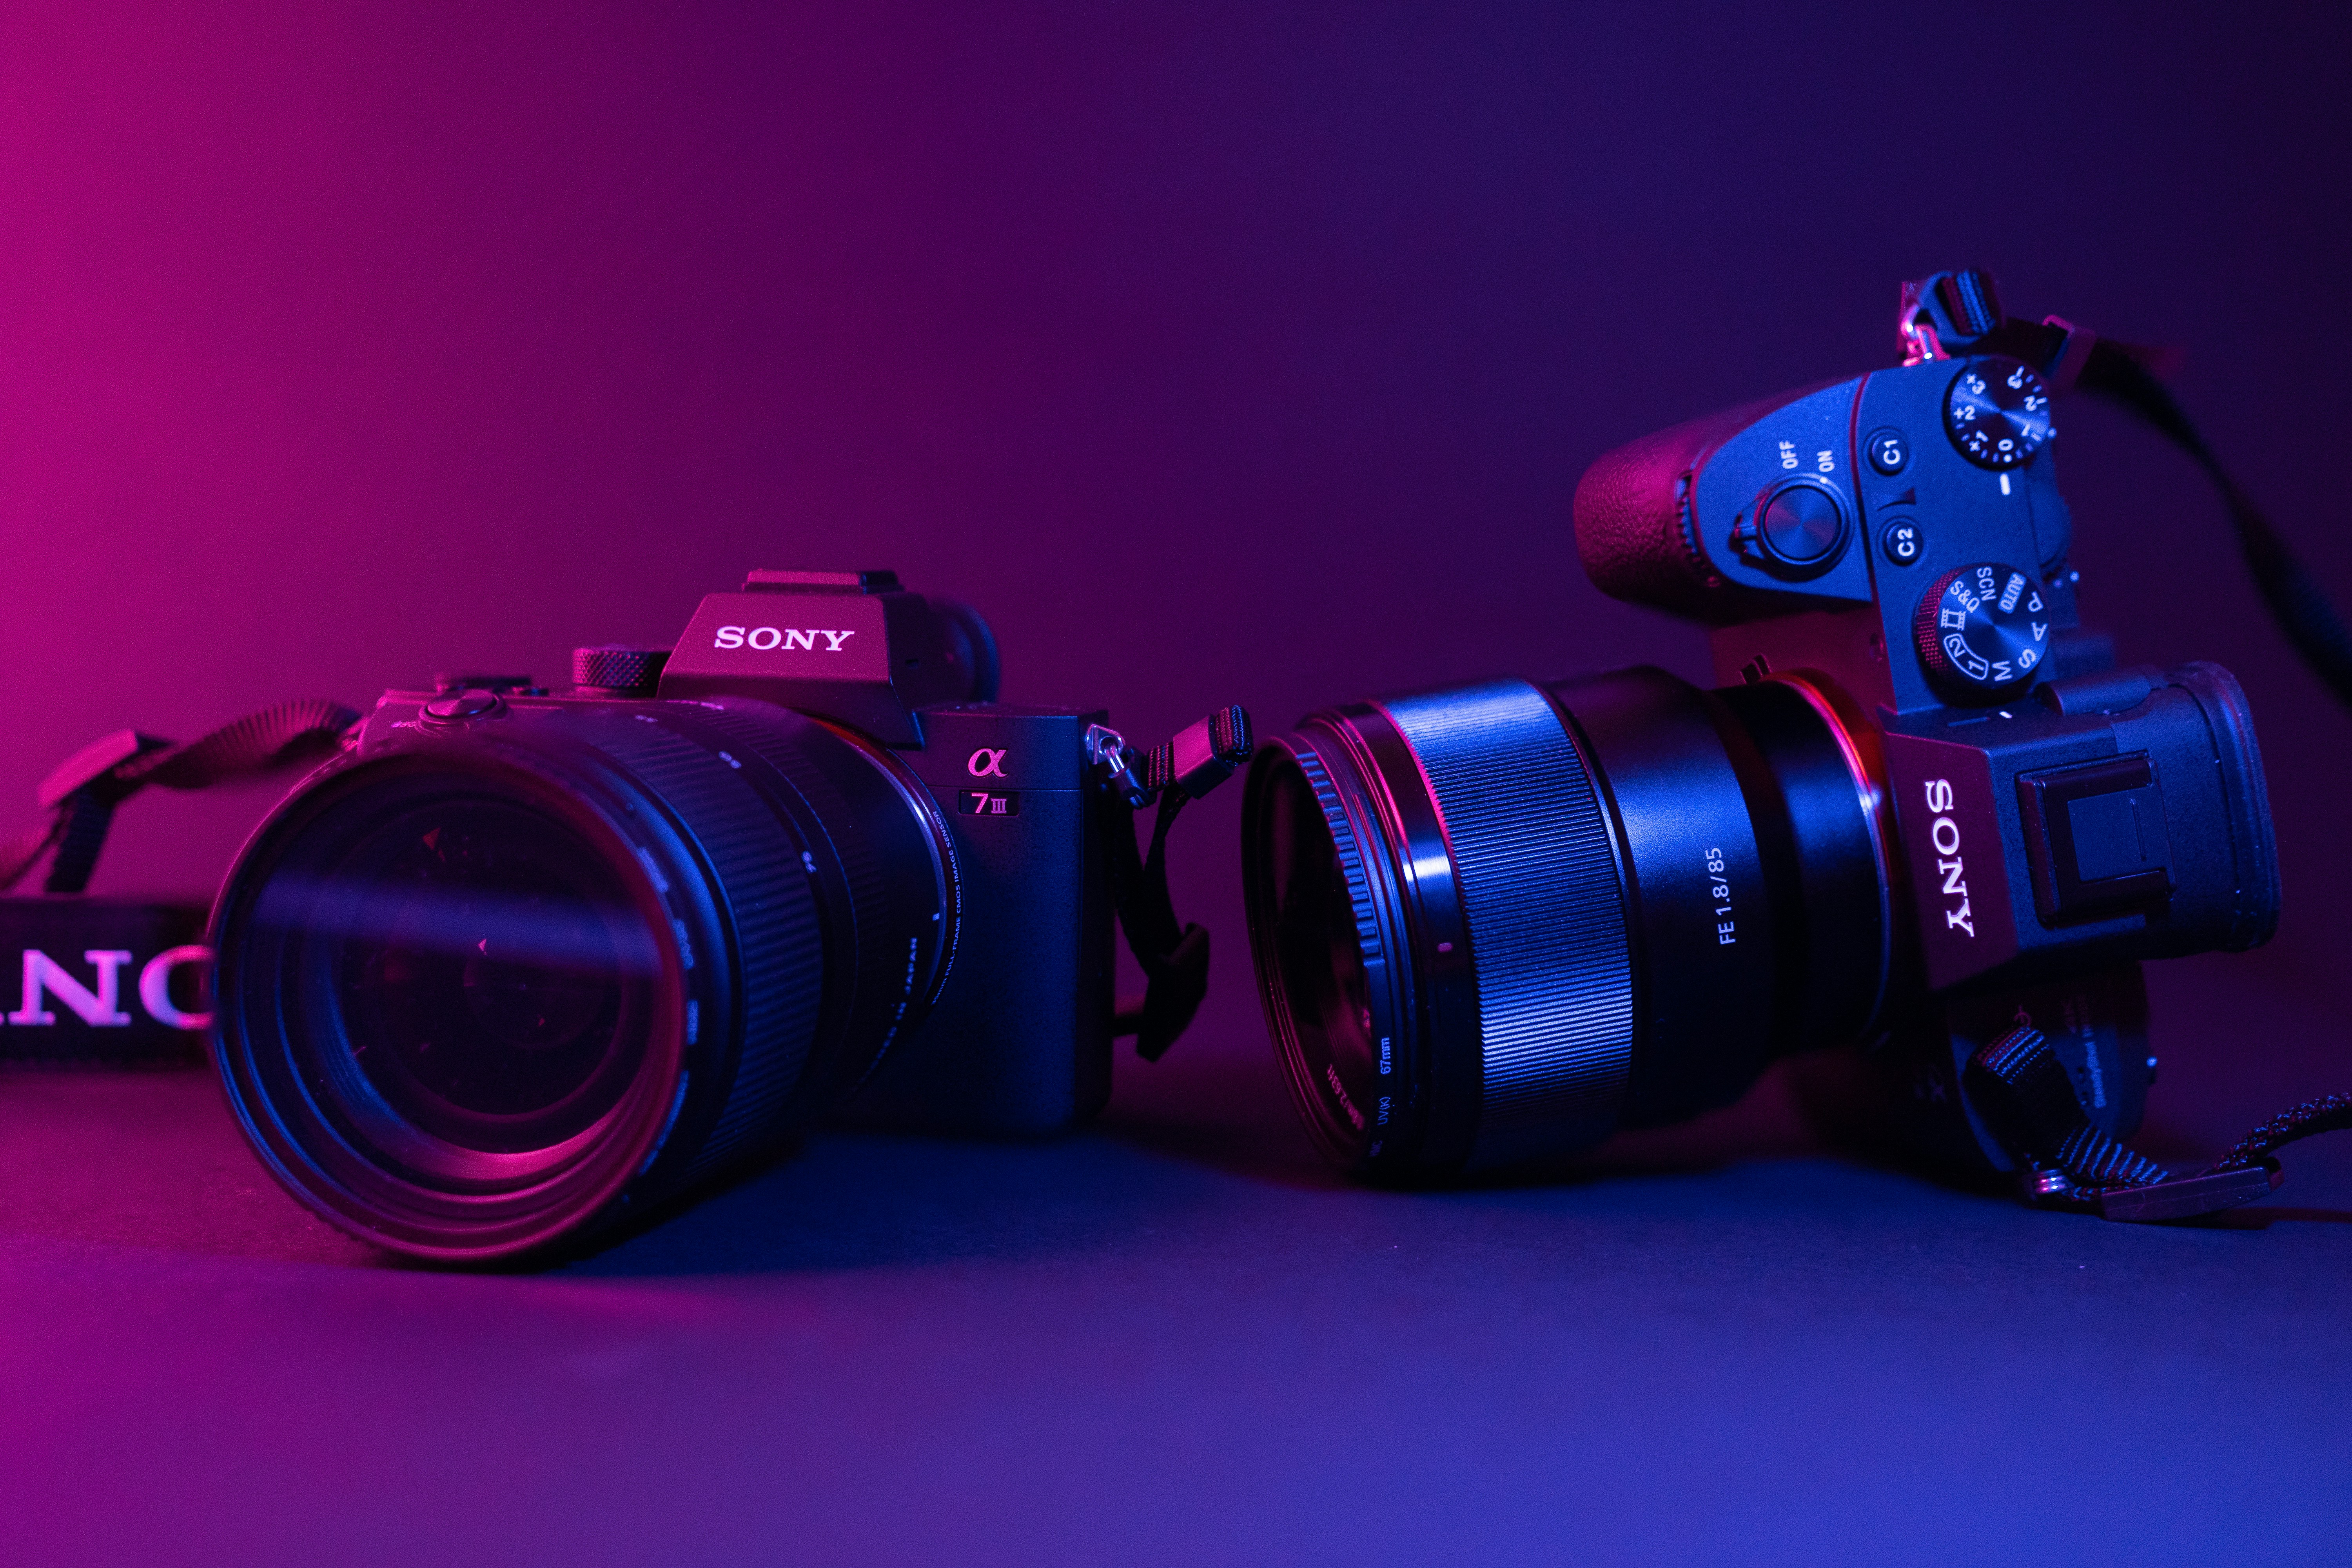
You don’t need a “pro” badge to make great photos. You need a camera that feels friendly on day one, grows with you on day 100, and doesn’t punish you for learning. These are the bodies I hand to friends when they say, “I want to take real pictures, not just phone snaps.”
Also Read: 7 Best Film Cameras for Beginners (For Every Budget)
Quick Picks
- Canon EOS R50 (with 18–45mm kit) — menus that make sense, colors that flatter, and an autofocus that just finds faces.
- Nikon Z30 (with 16–50mm kit) — the most approachable Nikon mirrorless: small, comfy grip, clean image, no viewfinder to confuse.
- Sony ZV-E10 II (with 16–50mm kit) — sticky face/eye AF and tons of lenses later; great if you’ll dabble in video too.
- Fujifilm X-S20 (with 15–45mm kit) — film-style dials when you’re ready, auto modes when you’re not; lovely JPEG colors.
Best Cameras for Beginner Photographers
| Camera | Sensor | Best for | Notes |
|---|---|---|---|
| Canon EOS R50 | APS-C | First “real” camera for family/travel | Guided modes, strong face AF; no IBIS—use IS lenses |
| Nikon Z30 | APS-C | Compact, budget step up from phone | Very small, easy auto; no viewfinder (consider Z50 if you want one) |
| Sony ZV-E10 II | APS-C | Photos now, video later | Excellent eye AF, USB power; no IBIS—fast/stabilized lenses help |
| Fujifilm X-S20 | APS-C | Learning exposure with tactile dials | Lovely JPEG color, IBIS, big battery; pricier than others |
Also Read: Is Sony a6100 the Best Cheap Camera for Beginners?
Things to Consider
- Autofocus you can trust: face/eye detect that locks and stays put makes more keepers than any spec sheet brag.
- Stabilization strategy: if the body lacks IBIS, pick a kit lens with optical IS; it buys you sharper handheld shots in dim rooms.
- Lenses now, lenses later: a simple kit zoom is fine to start; make sure the system has affordable primes (35/50mm equivalents) for portraits and low light when you’re ready.
- Viewfinder vs. screen: a viewfinder helps in bright sun and steadies the camera; screen-only bodies are smaller and cheaper but harder to frame outdoors.
- Grip and weight: you’ll shoot more with a camera that feels natural in your hand. If your pinky dangles, add a small grip or consider the next size up.
- Battery and charging: USB-C power/charging means you can top up with the same brick as your phone. Spare batteries are cheap insurance.
- Video spillover (nice to have): 4K and decent mics are handy if you’ll dabble in clips; if not, don’t pay extra for video features you won’t use.
- Budget the whole kit: camera + kit lens + fast prime (later) + two SD cards + spare battery + simple strap or sling. Plan it now; upgrade in steps.
Quick tip: your first real upgrade isn’t another camera—it’s a fast prime (35mm or 50mm). Instant background blur, cleaner low-light shots, and it teaches composition fast.
1. Canon EOS R50 (with 18–45mm kit)
Best Canon Camera for Photography Beginners/Best Overall
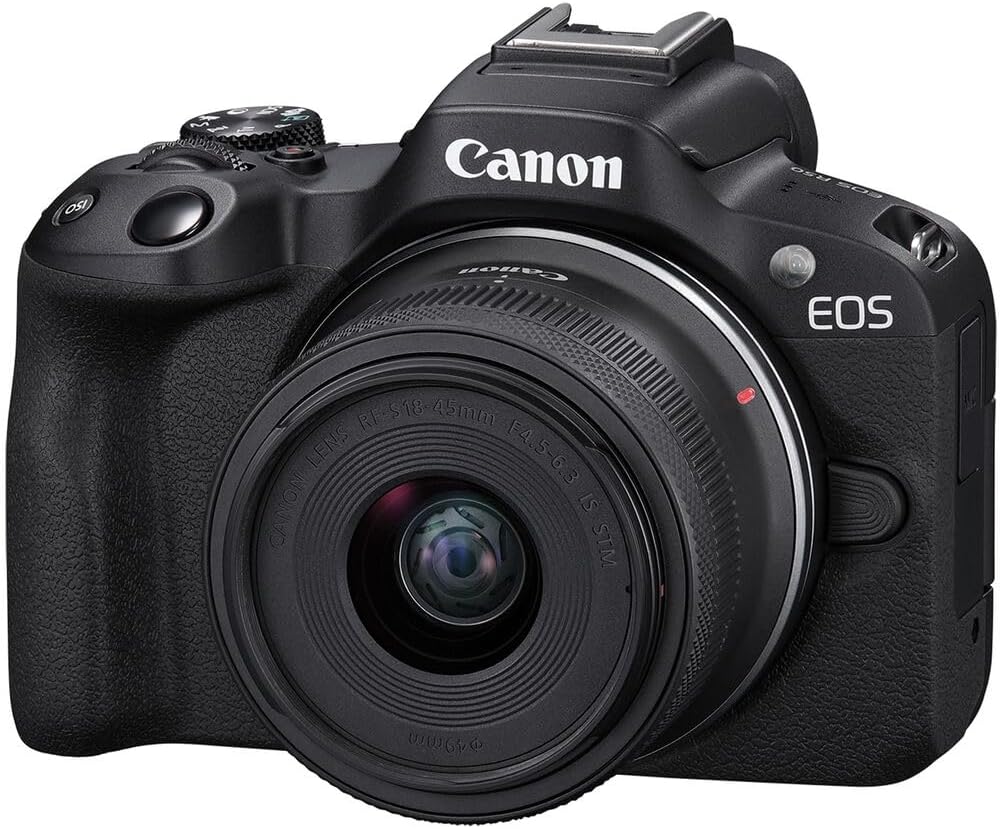
Why it works: the menus make sense, the touchscreen behaves like a phone, and face/eye autofocus just finds people and hangs on. It’s light, so you’ll actually bring it, and the colors look right without hours in an editor.
What to get first: the 18–45mm kit lens is a small everyday zoom. When you’re ready for more “wow,” add a 50mm-ish prime (portrait look, cleaner low light) or the 55–210mm for kids’ sports and travel reach.
Easy starter settings:
- Mode dial → A+ (Auto) for day one.
- Then try Av (Aperture Priority) at f/2.8–f/4 on a fast prime for blurry backgrounds.
- AF method → Face/Eye. Drive mode → Continuous for moving kids/pets.
- ISO → Auto, cap at 6400.
Watch-outs: no in-body stabilization; lean on stabilized lenses or keep shutter speeds up. The tiny kit zoom is sharp but slow in dim rooms—this is where a fast prime earns its spot.
Quick tip: assign the exposure compensation button to the front dial and try +/− 1 stop in the same scene. You’ll learn faster than any YouTube video.
2. Nikon Z30 (with 16–50mm kit)
Best Nikon Camera for Beginner Photographers/Best for Travelers

Why it works: it’s the friendliest Nikon mirrorless—simple body, comfy grip, and a kit lens that’s sharper than it has any right to be. The Auto mode is genuinely smart, and the flip screen helps with low angles and family shots.
What to get first: the 16–50mm kit covers everyday life; add the 50–250mm later for sports or wildlife. If portraits are your thing, the Z 35mm f/1.8 or Z 50mm f/1.8 is the “instant upgrade” lens.
Easy starter settings:
- Start in Auto.
- Graduate to A (Aperture Priority) and set f/2.8–f/4 on a fast prime.
- AF area → Auto-area AF (people).
- ISO → Auto, max 6400.
- Turn on Vibration Reduction in the lens menu.
Watch-outs: there’s no viewfinder—great for size, trickier in bright sun. If you know you want an eye-level finder, look at the Z50 instead; otherwise, shade the screen with your hand and keep shooting.
Quick tip: put “i” menu items you touch often—ISO, AF mode, drive mode—on the first row. When you’re not digging through menus, you make more photos.
3. Sony ZV-E10 II (with 16–50mm kit)
Best Beginner Camera for Photo and Video

Why it works: Sony’s eye autofocus is sticky in the best way—point it at people and it just grabs the eyes and stays there. The body is small, the screen flips any direction, and it sips power over USB-C, so you can top up with the same charger as your phone. If you think you’ll dabble in video later, this is the easiest on-ramp without sacrificing stills.
What to get first: the 16–50mm kit lens is a light everyday zoom. When you’re ready to level up, grab a fast prime like the Sigma 30mm f/1.4 (classic “portrait on APS-C” look) or Sony 35mm f/1.8 OSS (adds optical stabilization). For range, the 55–210mm covers school fields and travel details; for one-lens simplicity, the Sigma 18–50mm f/2.8 is a great walkaround.
Easy starter settings:
- Start in Auto for day one.
- Move to A (Aperture Priority) at f/1.8–f/2.8 on a fast prime for subject blur.
- AF → Face/Eye-AF (Human); Drive → Continuous for kids/pets.
- ISO → Auto, cap at 6400; Min. shutter 1/125 (or 1/250 for sports).
- Turn SteadyShot on if your lens has OSS.
Watch-outs: no in-body stabilization, so lean on stabilized lenses or keep shutter speeds up in dim rooms. The tiny kit zoom is handy but slow; a fast prime is your “wow” button.
Quick tip: assign AF/MF-AEL to “Eye AF” so you can mash it with your thumb whenever faces enter the frame—near-perfect focus without thinking.
4. Fujifilm X-S20 (with 15–45mm kit)
Best Mirrorless Camera for Beginners/Best Under $2000
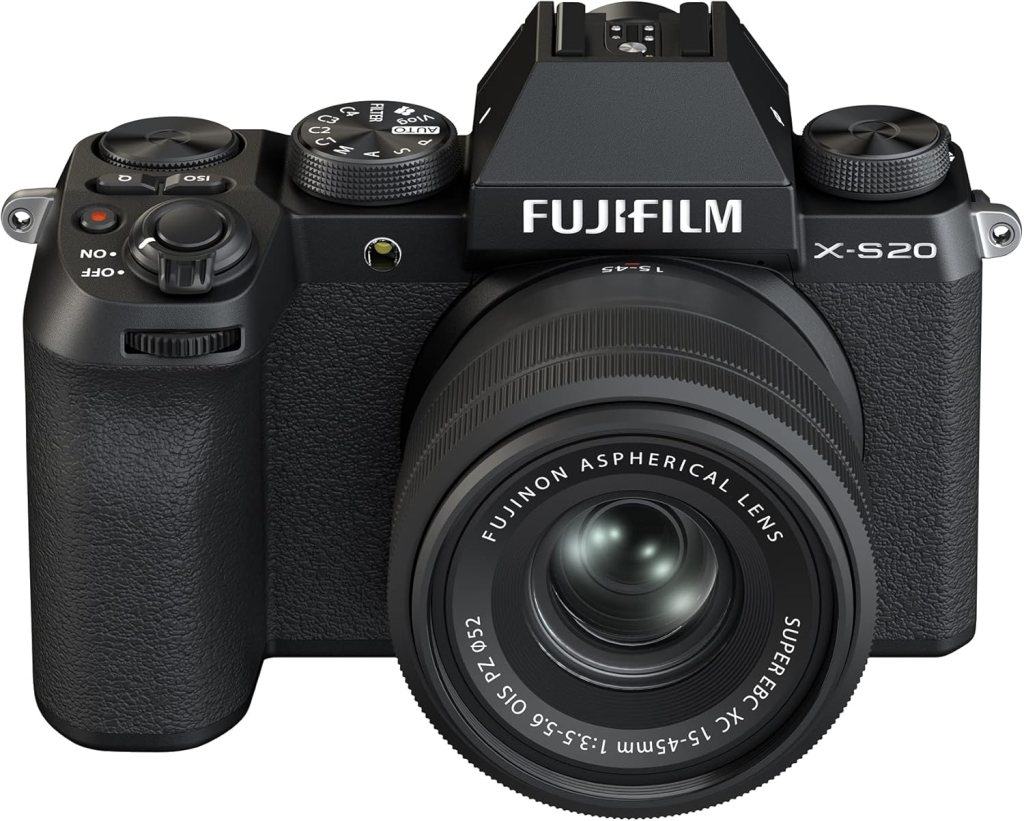
Why it works: The X-S20 gives you two lanes: leave it in Auto and it’s as friendly as a point-and-shoot, or flip to the classic Fuji dials (shutter, ISO) and it teaches exposure by feel. Colors straight out of camera look great—those “film simulations” aren’t a gimmick—and the in-body stabilization steadies hand-held shots in dim rooms.
What to get first: the XC 15–45mm kit covers everyday life; when you want portraits and low light, grab the XF 35mm f/2 (tiny, sharp, weather-resistant). If you like one-lens simplicity, the XF 18–55mm f/2.8–4 is the best “kit upgrade” in the mirrorless world.
You may want to check out my Ultimate Guide to Best FUJIFILM Lenses.
In addition, I’d encourage you to snap up the amazing deals on 2 Best Viltrox Fuji Lenses | What’s In My Bag?.
Easy starter settings:
- Day one: AUTO on the mode dial.
- When you’re ready: set the shutter dial to A, aperture to f/2–f/4 on a fast lens, and ride exposure compensation for brightness.
- AF → Face/Eye on; Drive → Continuous for kids/pets.
- ISO → Auto, cap at 6400.
- IBIS on; it buys you a couple stops for indoor shots.
Watch-outs: Fuji menus run deep—save your favorites to My Menu so you’re not hunting. The 15–45mm’s power zoom is smooth but not fast in low light; that’s your cue to add the 35mm f/2.
Quick tip: pick one film simulation and stick with it for a week (try Provia or Classic Chrome). Consistent color helps you see what composition and light are doing—less time tweaking, more time shooting.
Also consider reading Best Mirrorless Cameras for Beginners.
Your first lens upgrades (simple, low-risk picks)
Canon EOS R50
RF 50mm f/1.8 — easy portrait blur; becomes an ~80mm equivalent on APS-C.
RF-S 55–210mm — lightweight telephoto for kids’ sports, wildlife, travel details.
Nikon Z30
Z 40mm f/2 — tiny, affordable, great for people and indoor light (~60mm equiv).
Z DX 50–250mm VR — sharp, stabilized reach without a gym membership.
Sony ZV-E10 II
Sigma 30mm f/1.4 DC DN — classic “portrait on APS-C” look; bright indoors.
Sony E 50mm f/1.8 OSS — flattering head-and-shoulders shots with built-in stabilization.
Sony 55–210mm OSS — no-drama telephoto for fields and trips.
Fujifilm X-S20
XF 35mm f/2 — small, weather-sealed, lovely people photos.
XF 18–55mm f/2.8–4 — the best “kit upgrade” zoom; sharper, faster, and versatile.
XC 50–230mm OIS II — light telephoto that punches above its price.
Quick tip: when a scene feels flat, switch to the fast prime, set f/2, step closer, and focus on an eye. Depth and pop show up instantly.
Day-one setup (5-minute cheat sheet)
- Charge battery, format the SD card in-camera.
- Set image size to RAW+JPEG (use JPEGs now; RAW is there if a shot is special).
- Color/film look: leave on Standard/Provia/Neutral—clean, easy to edit later.
- Autofocus: Face/Eye detect ON. Drive mode Continuous (burst) for kids/pets.
- Exposure: start in Aperture Priority. Indoors pick f/2–f/2.8 on a fast prime; outdoors f/4–f/5.6 for groups.
- ISO: Auto, max 6400. Minimum shutter 1/125 (or 1/250 for sports).
- White balance: Auto. If skin looks too warm/cool, tap the WB icon and nudge.
- Stabilization: turn on IBIS/IS/OSS if your body/lens has it.
- Custom button: assign exposure compensation or Eye AF so you can ride brightness or lock focus without menu diving.
Quick tip: aim for +0.3 to +0.7 exposure on backlit faces. If they’re dark, roll the exposure comp dial toward + until skin looks right.
A simple practice plan (one weekend)
Day 1 — People practice (30 minutes)
Put on a fast prime. Aperture Priority at f/2, Face/Eye AF on. Photograph one person near a window. Take 10 frames: straight on, 45°, and side light. Move your feet, not the zoom. Review: keepers have sharp eyes and a clean background.
Day 1 — Motion mini-set (10 minutes)
Outside, set minimum shutter to 1/500. Ask someone to walk toward you. Hold the shutter and let AF track the eyes. You’ll feel how shutter speed freezes motion.
Day 2 — Story walk (45 minutes)
Kit zoom on, shoot: a wide establishing shot, a detail, and a portrait at each stop (park, café, street corner). Three-photo stories force you to think: scene, detail, person.
Day 2 — Golden hour (15 minutes)
Find low sun. Put the light behind your subject (hair rim). Dial +0.7 exposure comp so faces aren’t silhouettes. That’s the “phones can’t do this” look.
Quick tip: after each mini-set, mark favorites in-camera (★). Later you’ll know what worked—and you’ll want to go make more of those.
Accessories that actually help (under $100)
- Spare battery + dual USB charger: shoot all day, charge two at once on a travel brick.
- Two SD cards (UHS-I, V30): rotate and back up—cards fail after great days.
- Cross-body strap/sling: keeps the camera out and ready instead of zipped away.
- Small blower + microfiber: dust off sensors/lenses; fingerprints ruin good light.
- Circular polarizer (for your kit lens diameter): cuts glare on water/windows and deepens skies—instant “wow” outdoors.
- Compact tabletop tripod or wrist-grip: steady video, group selfies, or slow-shutter experiments.
Quick tip: name your cards in-camera (“CARD A”, “CARD B”) and label them with tape. When you’re tired, labels save mistakes.
This post contains affiliate links. If you purchase through these links, I may earn a small commission at no extra cost to you. As an Amazon Associate, I earn from qualifying purchases and stand behind all of my recommendations.

Leave a Reply